Features
Instant setup
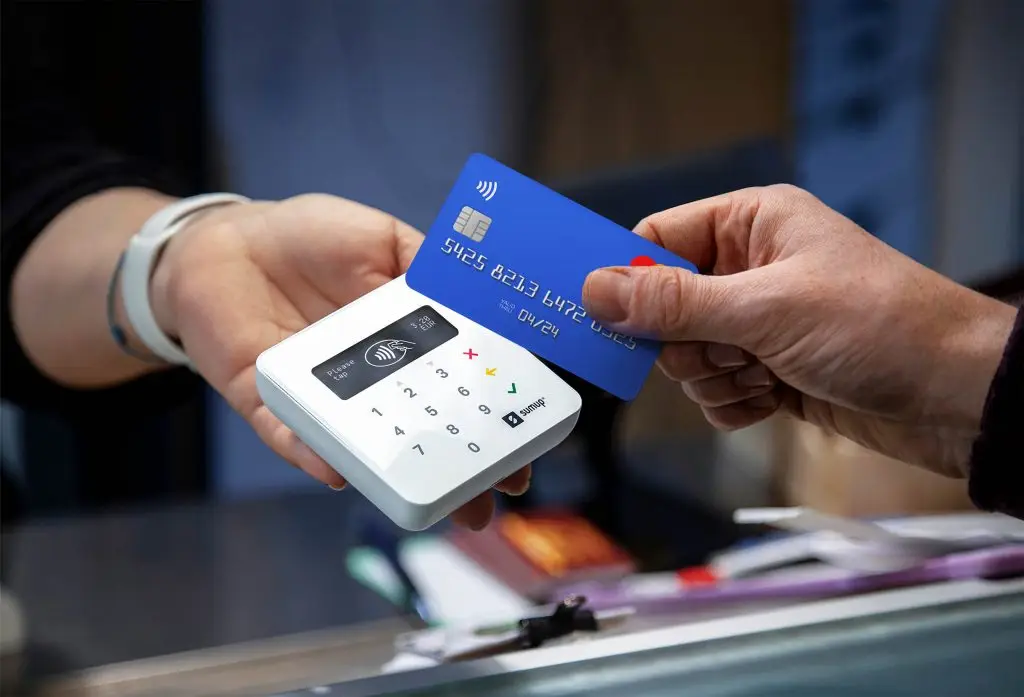
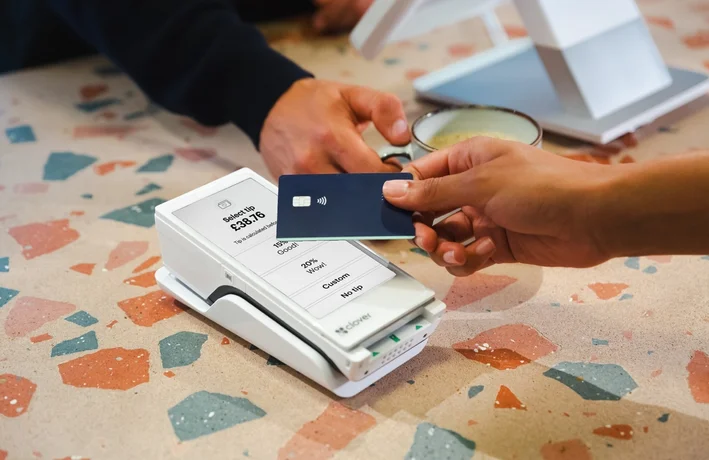
Sell anywhere in minutes
Omni-channel
Sell across any channel
Product curation
Create uniqe experiences
Instant checkout
Express payment options
Trackable links
Track and reward sales
Use cases
Retail
Social media, pop ups, print, in-store
Hospitality
Events, merchandise, reservations
B2B
Pay by link, e-procurement, curated sales
Partners
Payment partners
Merchant acquirers & PSP’s
Platform partners
Media & streaming services
Pricing
Resources
About us
What makes us tick
Blog
Keep up to date
Contact us
Speak to the team
FAQ
Frequently asked question
Login
Sign up
Sign up
Login
News & Content
Keep up to date with Stored and industry news & trends in payments and commerce.
Featured Articles
February 22, 2025
Best Point of Sale Terminal in the UK: A Comprehensive Guide for Retailers
Read More
February 4, 2025
The Best Staff Rota Software for Hospitality in the UK: Top Picks For 2025!
Read More
August 9, 2024
How to Create Affiliate Links for My Business: A Step-by-Step Guide
Read More
All Stored Articles
May 10, 2025
Mobile POS: Essential Features for Retailers in 2025
Read More
May 9, 2025
QR Code Payment System: Streamlining Transactions in the Digital Age
Read More
April 23, 2025
Sum Up Air Explained: Features, Benefits and How It Works
Read More
April 21, 2025
What is a PCI compliance fee for? Understanding its purpose and impact on businesses.
Read More
April 17, 2025
Take Card Payments on an iPhone: A Simple Guide for Mobile Businesses in 2025
Read More
April 16, 2025
DPD vs Evri vs Post Office UK: A Comprehensive Comparison of Parcel Delivery Services
Read More
March 31, 2025
QuickBooks vs Xero for UK Businesses: A Comprehensive Comparison for 2025
Read More
March 16, 2025
Mobile Card Payment Solutions for Tradesmen: Streamlining On-Site Transactions
Read More
March 15, 2025
How to Accept Credit Card Payments Online UK: A Comprehensive Guide for British Businesses
Read More
March 14, 2025
Take Payment in a Coffee Shop: Efficient Methods for Baristas and Owners
Read More
March 13, 2025
Pay by Link: Simplifying Digital Payments for UK Businesses
Read More
March 12, 2025
Gift Cards for My Business: Boost Customer Loyalty and Revenue in 2025
Read More
March 11, 2025
How to Take Payments Over the Phone: A Secure and Efficient Guide for Businesses
Read More
March 9, 2025
What is NFC Payment and How Could I Use It in My Business: A Comprehensive Guide to Contactless Transactions
Read More
March 8, 2025
Mobile to Mobile Payments: The Future of Digital Transactions in 2025
Read More
March 7, 2025
Take Payments in a Restaurant: Efficient Methods for Modern Dining Establishments
Read More
March 6, 2025
SumUp Review: A Comprehensive Analysis of the Payment Solution for Small Businesses in 2025
Read More
March 5, 2025
Limited Company vs Sole Trader | Key Differences for UK Businesses
Read More
March 4, 2025
Social Media Strategies for UK SMEs: Enhancing Online Presence and Engagement
Read More
March 4, 2025
Step by Step Guide to Creating a HACCP Plan UK: Essential Requirements for Food Safety Compliance
Read More
March 3, 2025
How to Get a 5 Star Food Hygiene Rating: Essential Steps for UK Businesses
Read More
March 2, 2025
Stripe Review: A Comprehensive Analysis of Payment Processing Solutions in 2025
Read More
March 1, 2025
Social Selling: 5 Effective Strategies to Boost Your Sales in 2025
Read More
February 28, 2025
Accept Apple Pay UK: A Complete Guide to Using This Mobile Payment Method in 2025
Read More
February 27, 2025
Contactless Card Payments: The Future of Seamless Transactions in 2025
Read More
February 26, 2025
How to Open a Shop UK: Essential Steps for Starting Your Retail Business in 2025
Read More
February 25, 2025
How to Calculate Gross Profit: A Simple Guide for UK Businesses
Read More
February 24, 2025
MCC Codes: Understanding Their Importance in Payment Processing
Read More
February 23, 2025
How to Take Payments UK: A Comprehensive Guide for Businesses
Read More
February 22, 2025
Best Point of Sale Terminal in the UK: A Comprehensive Guide for Retailers
Read More
February 20, 2025
Dojo Payments: Payment Solutions for SME's.
Read More
February 20, 2025
Restaurant GP: Maximising Profitability in the Hospitality Sector
Read More
February 19, 2025
Pax A920 & A920 Pro Payment Terminal - Guide, Issues & Fixes
Read More
February 18, 2025
Ingenico Axium DX8000 Payment Terminal Guide, Common Issues & Fixes
Read More
February 17, 2025
Ultimate Guide to Payment Pages
Read More
February 13, 2025
How to Open a Restaurant in England: A Practical Step-by-Step Guide
Read More
February 6, 2025
Optimising Your Castles Saturn 1000 Payment Terminal: Troubleshooting Common Issues
Read More
February 4, 2025
The Best Staff Rota Software for Hospitality in the UK: Top Picks For 2025!
Read More
January 28, 2025
The Best Tills for Small Businesses in the UK: A Comprehensive Review
Read More
August 9, 2024
How to Create Affiliate Links for My Business: A Step-by-Step Guide
Read More
July 14, 2024
How Long Does it Really Take to Set Up a Shopify Store?
Read More
June 4, 2024
How to Take Payments Online via a Website in the UK
Read More
May 13, 2024
Transitioning from 9 to 5 Job to Digital Entrepreneurship with Stored
Read More
May 7, 2024
Start Selling Anywhere in Seconds with Stored's Instant Selling Solution
Read More
April 29, 2024
How Trackable Links Supercharge Affiliate Sales Networks
Read More
April 22, 2024
The Power of Tailored Buying Experiences for E-commerce Brands
Read More
April 16, 2024
Etsy for Merchants: An In-Depth Review of Its Marketplace Dynamics, Advantages, and Challenges for Sellers
Read More
April 15, 2024
Shopify for Merchants: A Comprehensive Review Of Platform Services
Read More
April 3, 2024
The Future of Sales: Seamless Omnichannel Experiences for Retail and Hospitality
Read More
March 28, 2024
The Hidden Costs of Marketplace Dependence for Merchants: Navigating a More Profitable Path
Read More
March 22, 2024
E-commerce Made Easy: Start Selling Instantly, Without Web Complexities
Read More
January 11, 2024
Stored On Startups 100 2024: Where Vision Meets Recognition In The New Year!
Read More
January 11, 2024
Unlocking Business Potential: A Deep Dive Into Omnichannel Excellence
Read More
December 4, 2023
Revolutionising Hospitality Payments: Stored Unveils A Streamlined Future
Read More
Get started now.
Create an account and start taking payments today, anywhere.
Sign up
Talk to us today
Speak to a member of our
sales team to discover how we help businesses like yours to sell anywhere.
Book a demo >


.png)


.png)


.png)


.png)
.png)
.jpg)


.png)
.png)
.png)
%20(3).png)

.png)
.png)